1/32 Bronco Airframe Stencils/Decals for USN/USMC Green/Grey & Overall Grey OV-10A Broncos


Note: This set does NOT include aircraft kit.
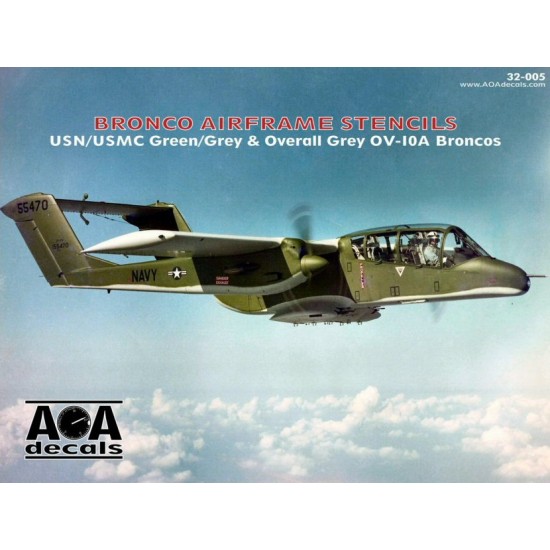
This sheet provides complete OV-10A Bronco airframe stencils for one aircraft in the original Marines and Navy Field Green over Light Gull Grey camouflage scheme, and is also applicable to the overall Light Gull Grey camouflage scheme used by the Navy.
Option to use 1 piece wing walkway decal or separate WALKWAY
decals if preference is for painted walkway
Multiple styles of various common markings provided:
- Three variations of PROPELLER
- Two variations of DANGER EXHAUST
- Three variations of the DANGER ejection seat triangles
- Five variations of the NO STEP NO GRIP warnings
- Two variations of propeller stenciling (one black, one white)
- Two variations of the painted exhaust mask
- Three variations of the fuel filler cap markings
The set includes the correct number of fuel tank markings (5) -
the Kitty Hawk kit represents only the four wing tanks.
In addition to the standard airframe stenciling, the sheet also includes tire slip markings, centerline fuel tank NO STEP stencils, LW-3B ejection seat markings, and full sponson and wing pylon stenciling.
How to apply water-slide decals:
1. Preparation: to achieve better result, a gloss or semi-gloss coat is very important. It will make a smooth layer which the decals will suction to and make it much easier to apply and set them.
2. Cut out the decal you need (do it on cutting mat)
3. Grab the decal with tweezers, place it on the surface of the water and leave it for about 20 seconds.
4. Remove the decal from the water and place it on paper towel to remove any excess water.
5. Apply decal solution to the part where the decal is to be placed.
6. Slide the decal off the backing paper on to the model. Using a paint brush or cotton bud is a good way to do this without damaging the decal.
7. Use the brush, knife or cotton bud to position the decal. Using your paper towel, gently dab the decal and soak up the excess water (decal softner is also recommended at this stage. After applying softner, the decal will suction to the part and flatten out smooth.)
8. When the decal is completely dry, give another coat of varnish or Klear/Future to seal it.
| General Info | |
| Scale | 1/32 |
| Type | Model Upgrade/Accessory |
| Subtype | Decals / Stickers |
- Stock: In Stock
- Reward Points: 21
- SKU: AOA32-005
- 1pcs in Stock

AOA Decals
MRP: US$17.78 Save: US$3.14
17% OFF
US$14.63
(excl. Tax)
"In-Stock" Really Means It
Combine Shipping & Save
SAME or Next day shipping*


There are no reviews
Maybe you can help? Many users will be grateful to you. And so are we.